AWS Amplify is not as complex as you think
5 min read
August 31, 2025
Finally, I used AWS Amplify to deploy my NextJS application. Honestly, it is not as complex as I thought it would be. Perhaps it is perceived like that among the developer community. I agree on the part where we have to configure a few extra steps to deploy the project successfully compared to Vercel. Since Vercel provides an amazing developer experience for developers when deploying NextJS apps, it won't take more than five minutes to upload your environment variables and click the deploy button.
I want to share my experience with AWS Amplify here. If you want to host your NextJS application on AWS Amplify in the future, you can follow this blog. I have included relevant screenshots to make the blog more easily understandable.
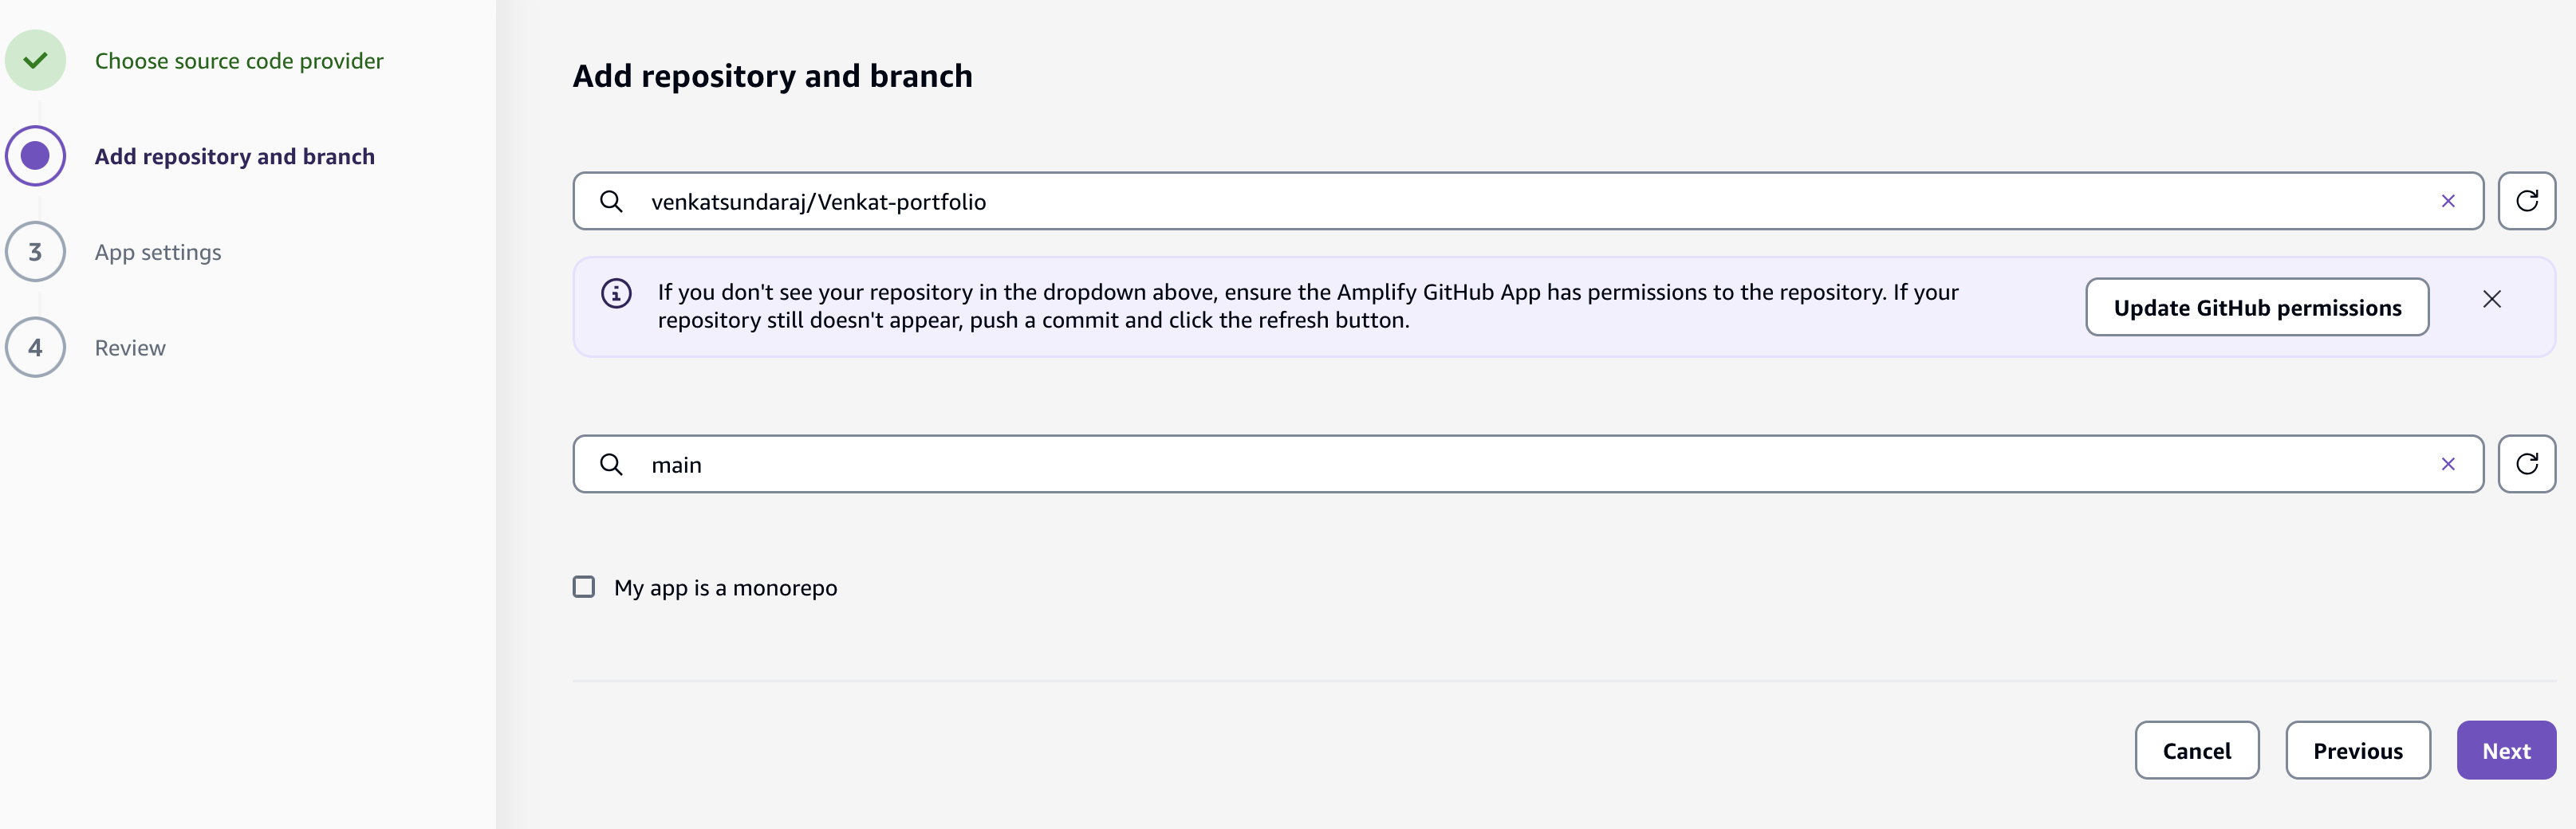
Before creating a new app on AWS Amplify, just make sure that you have uploaded your project to GitHub since AWS Amplify is going to track push actions from your GitHub repository. It is the same as how Vercel handles the deployment.
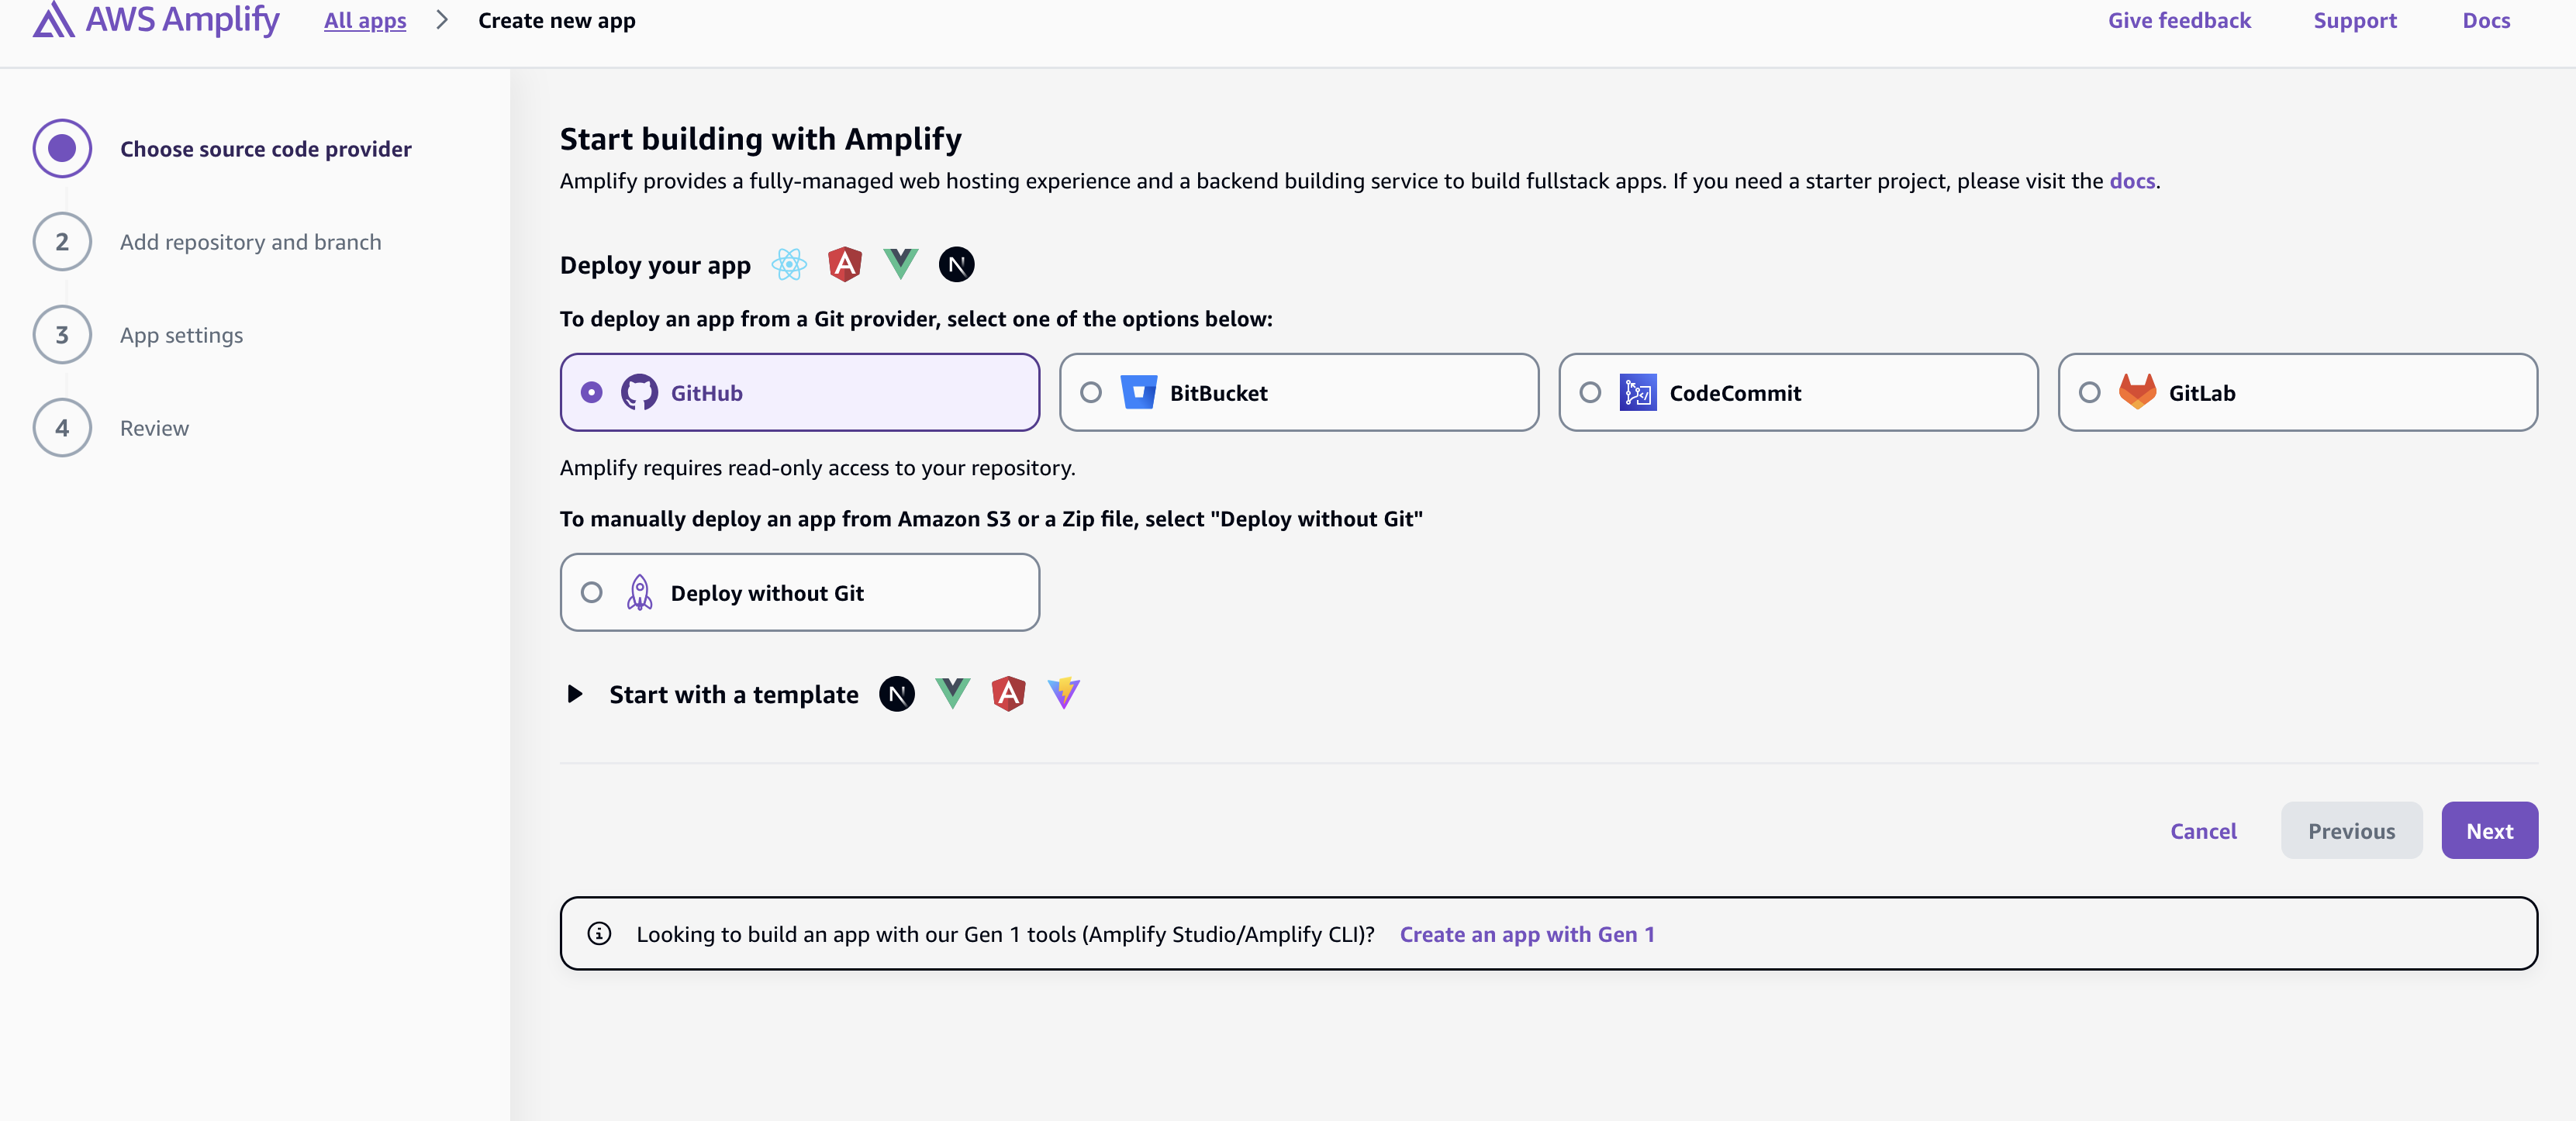
Please use this link to log in to AWS Amplify. If you are already logged in, it will redirect you to the main page where you have all your applications.
You should authorize the GitHub app before you import any application on AWS Amplify for further deployment. Since your GitHub account already has the project you want to deploy, AWS Amplify gets access to it. You can select which branch you want to proceed with.
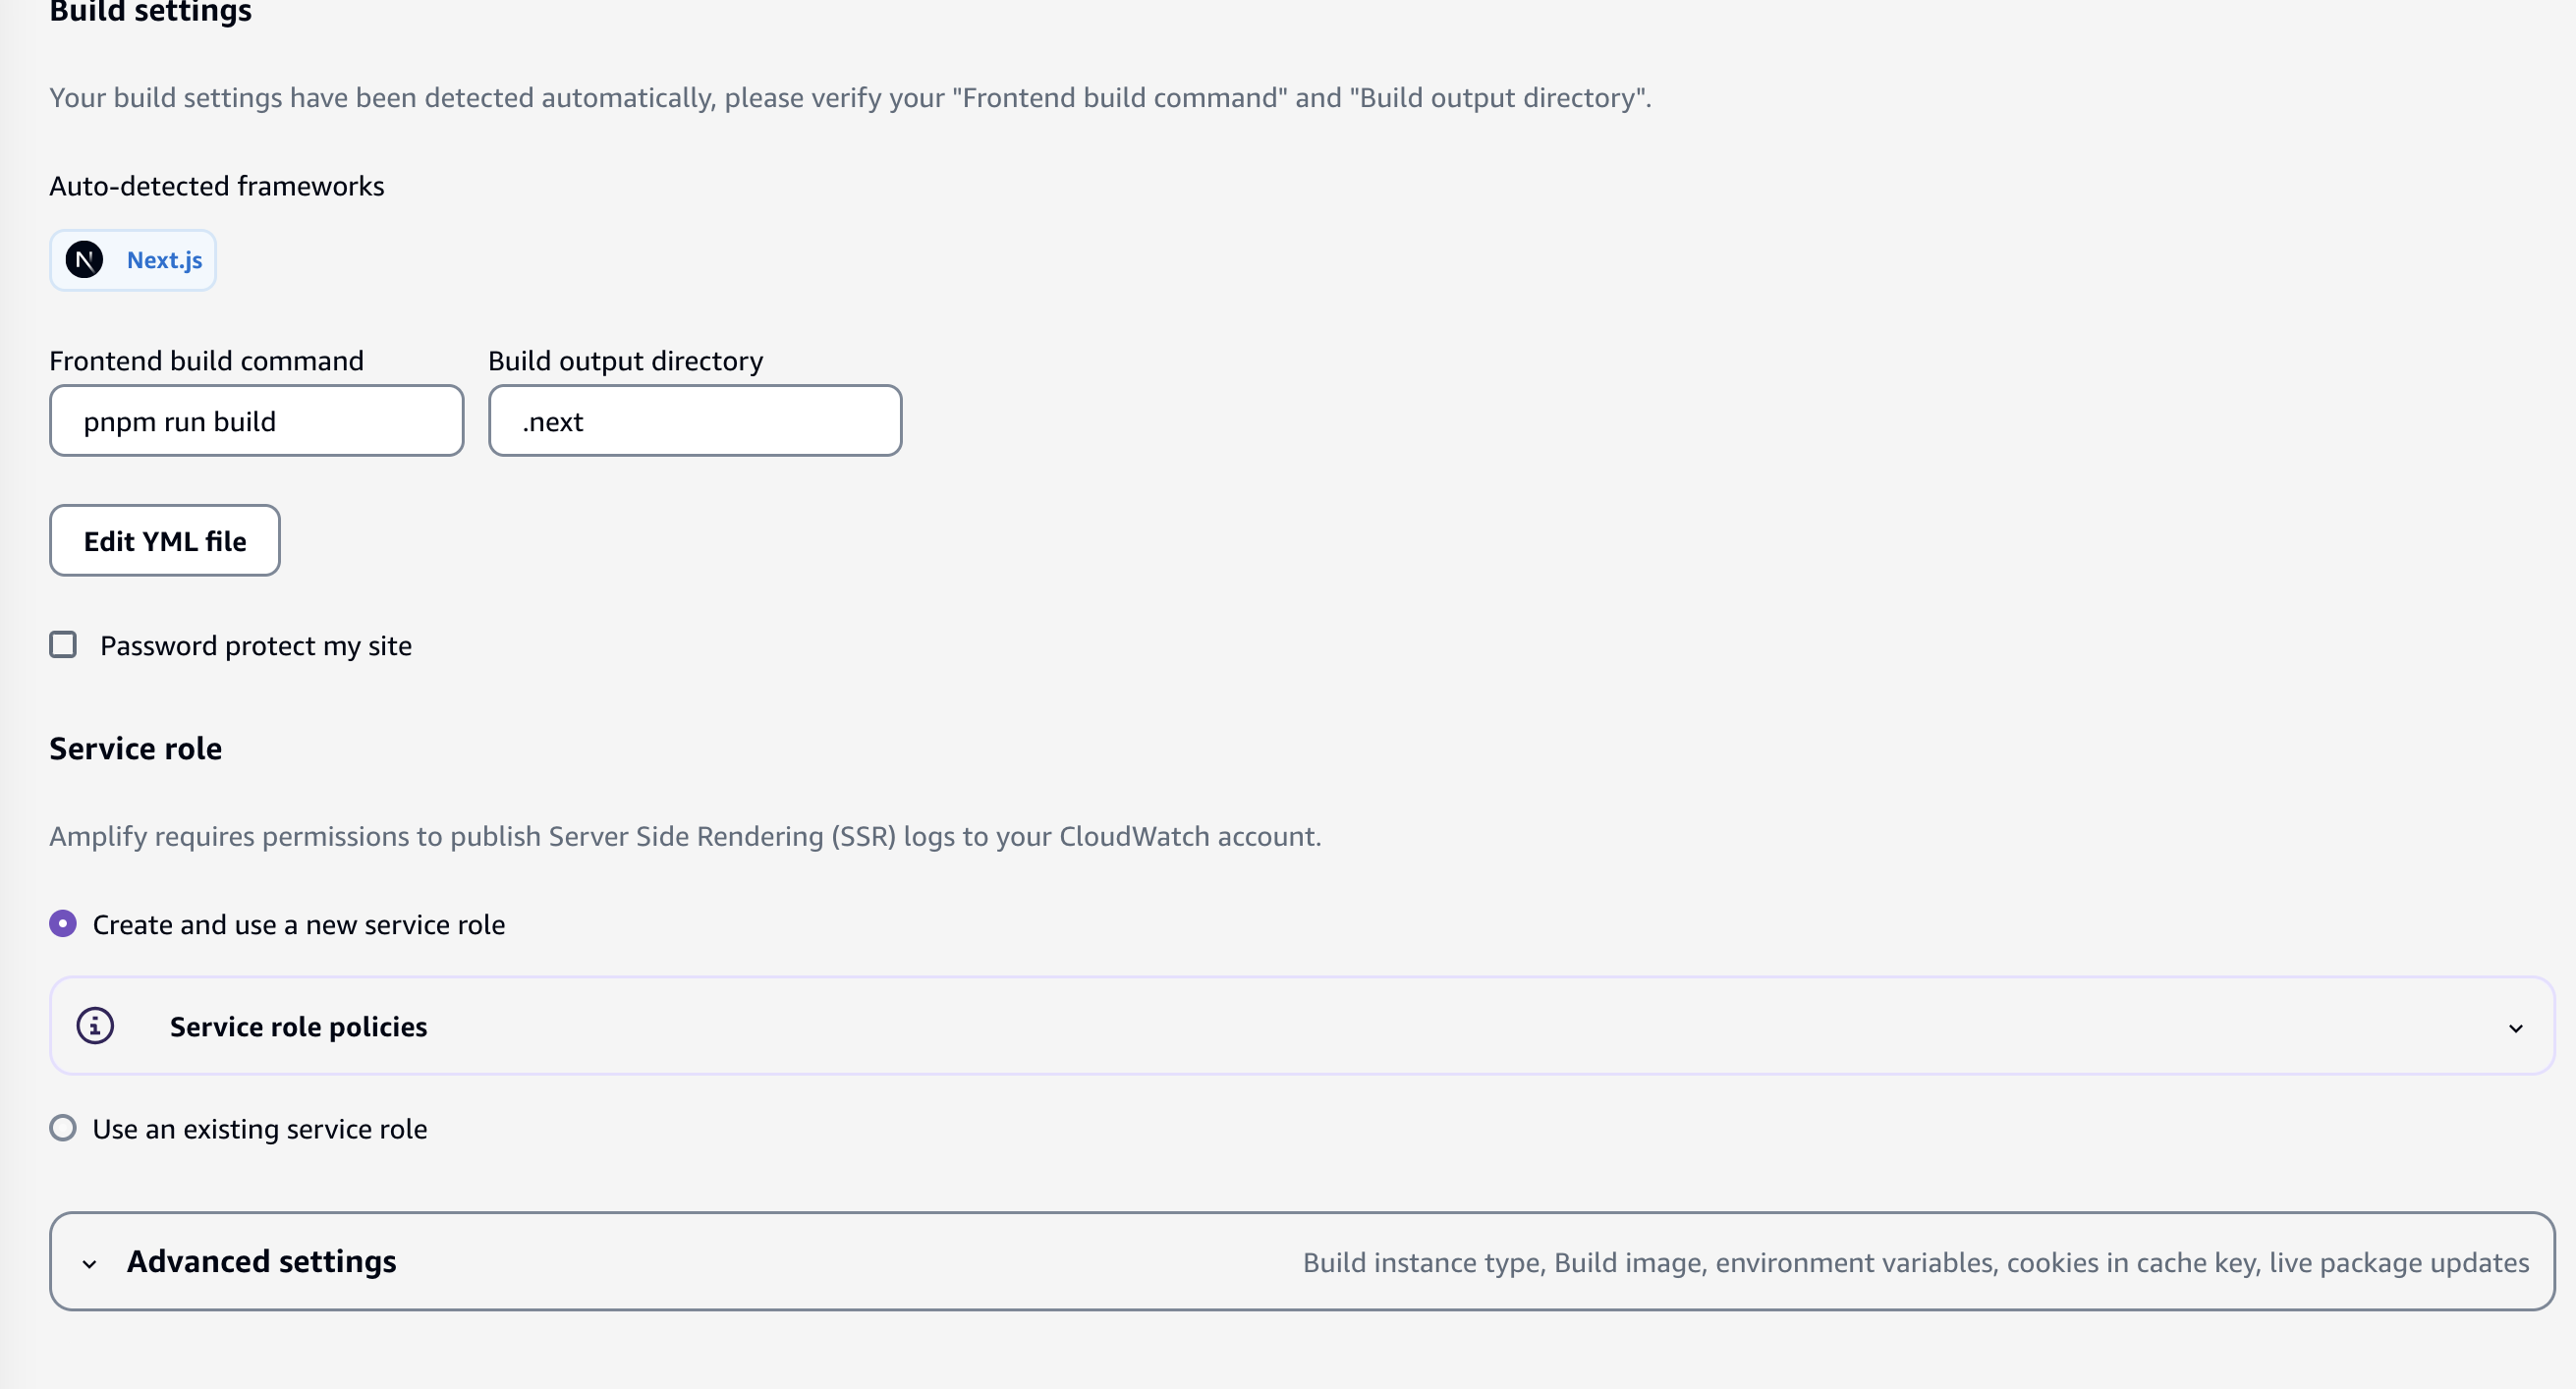
If you are using npm as your package manager, you don't have to change anything in the YAML file unless you have used .env variables in the project. But I have used pnpm in my project and I also used a couple of env variables as well. Please use the following amplify.yml file instead of the default one.
version: 1
frontend:
  phases:
    preBuild:
      commands:
        - npm install -g pnpm
        - pnpm install
    build:
      commands:
        - env | grep -e NODE_ENV >> .env.production
        - env | grep -e NEXT_PUBLIC_APP_URL >> .env.production
        - env | grep -e PROJECT_NAME >> .env.production
        - pnpm run build
  artifacts:
    baseDirectory: .next
    files:
      - "**/*"
  cache:
    paths:
      - .next/cache/**/*
      - node_modules/**/*
In the pre-build phase, you have to install the pnpm package manager globally using npm. Now, your project is equipped to use pnpm commands in your project to run your app and install all the developer dependencies. During the build phase, you have to use the env commands to write your env variables that you used earlier, writing them to the .env.production file. You have to inject those env variables during your build time to use them during runtime. Please refer to this page to understand the env integration better.
It is like how Docker containers handle env variables during both build time and runtime. Even though you have them in the .env file, it will expect you to inject those variables during runtime and build time. Please read my Docker containerization blog to understand Docker containers. I have also explained how I deployed the app on Railway.
Vercel handles this differently than AWS Amplify. You don't have to manually inject the variables when you deploy an app on Vercel every time. It is enough to add or update them in the environment variable section and you have to redeploy it.
One more challenge I faced during the deployment was Node version inconsistencies. The version I used to develop my app was lower than the version expected by AWS Amplify. So, it kept telling me to update my Node version. But if you want your app to run on a specific version, you can include it in your amplify.yml file. September 15, 2025 onward, AWS Amplify only supports Node 22.x version in your new deployments.
If you have any questions, please contact me here.